

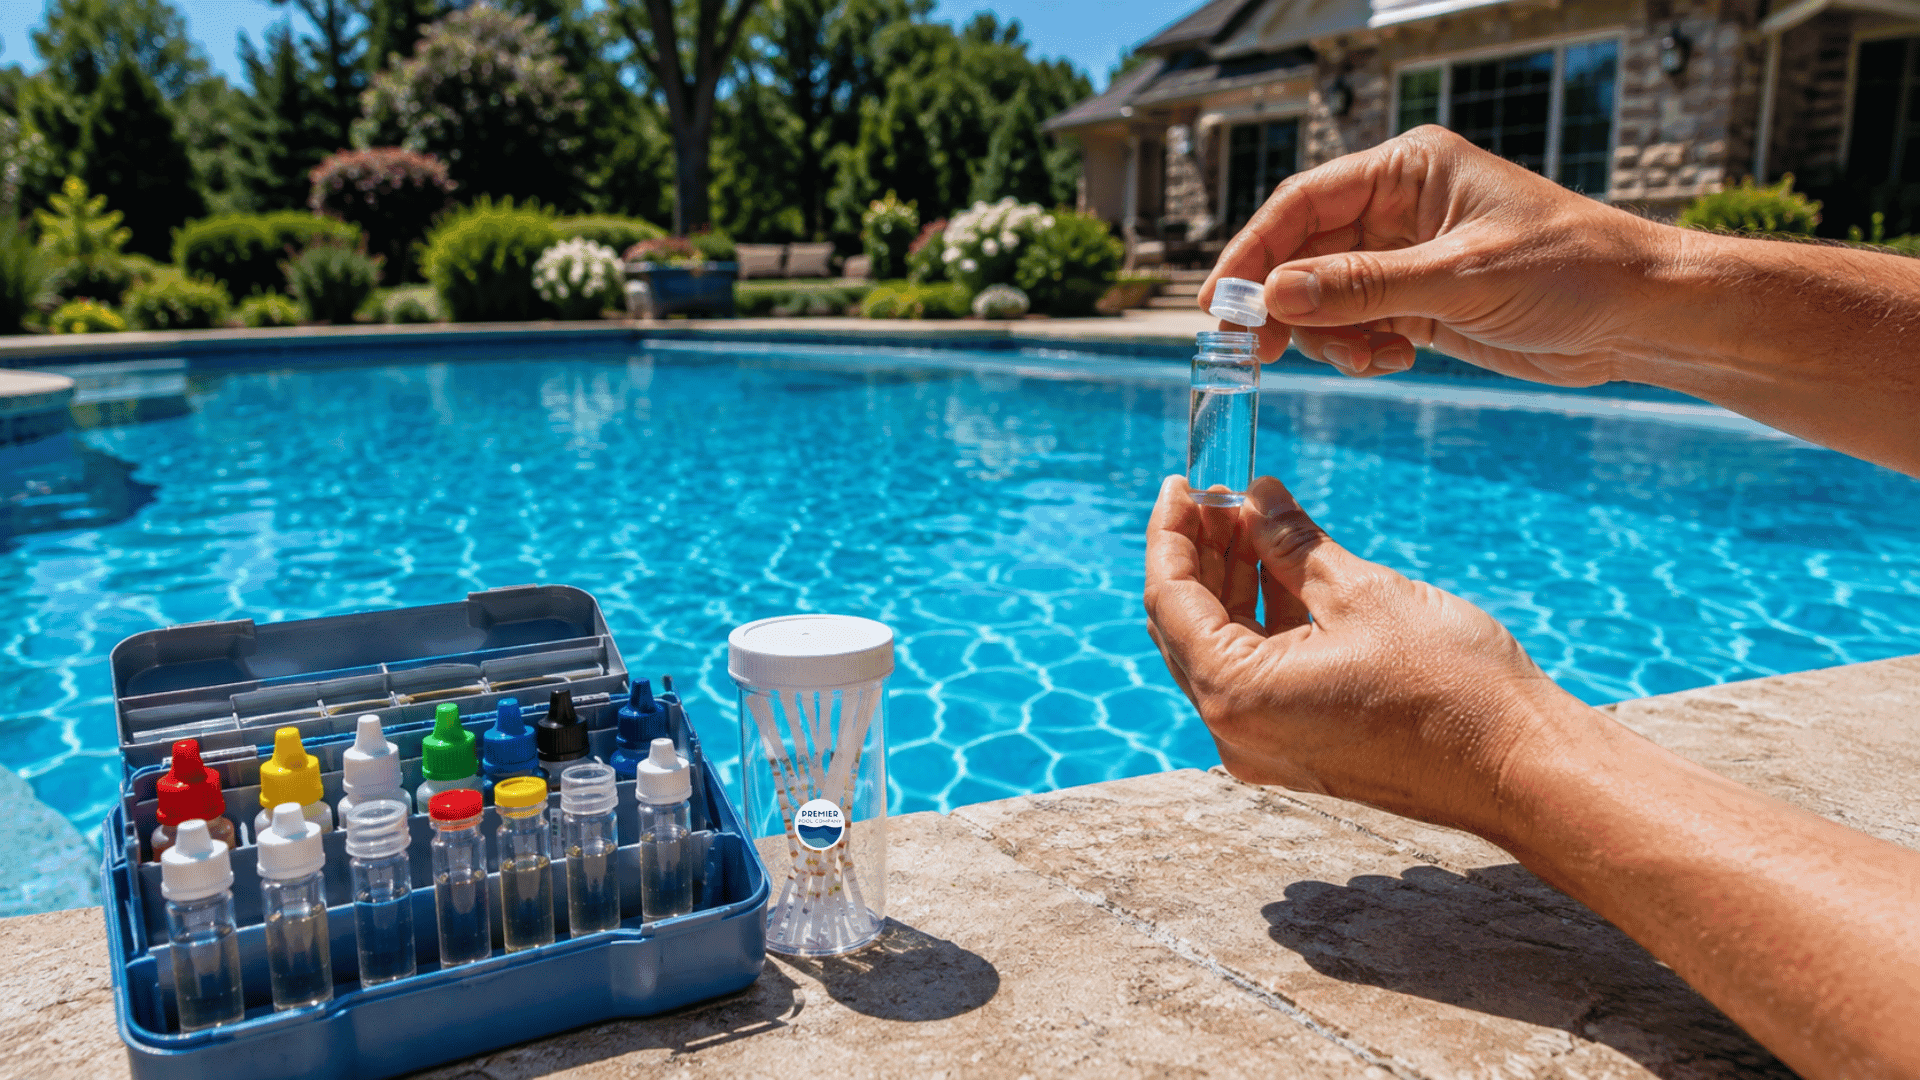
Pool Water Testing in Ohio: A Beginner's Guide to Getting It Right
Most pool problems actually start with the chemical balance of the water. Over time, pool surfaces tend to get worse if it’s not maintained properly.
And the first step towards that is pool water testing to ensure you have the right chemical balance maintained. If you don’t do it regularly, then you shouldn’t be surprised to see cloudy water or a greenish tint on the pool walls appearing after some time.
For Ohio pool owners, testing carries a few extra steps than usual. Our tap water tends to run harder with chemicals than average, which affects your calcium readings before you've even added a single chemical. Our summers swing between humid, still stretches and sudden storms, both of which throw chlorine demand out of balance. And our opening and closing windows due to winter are very tight, so that the first and last tests of the season matter a lot.
Hence, I’ve decided to prepare a guide for you so that you know how to test your pool water the right way and at what intervals, keeping Ohio’s climate in mind.
TL;DR - Quick Action Steps & Key Takeaway
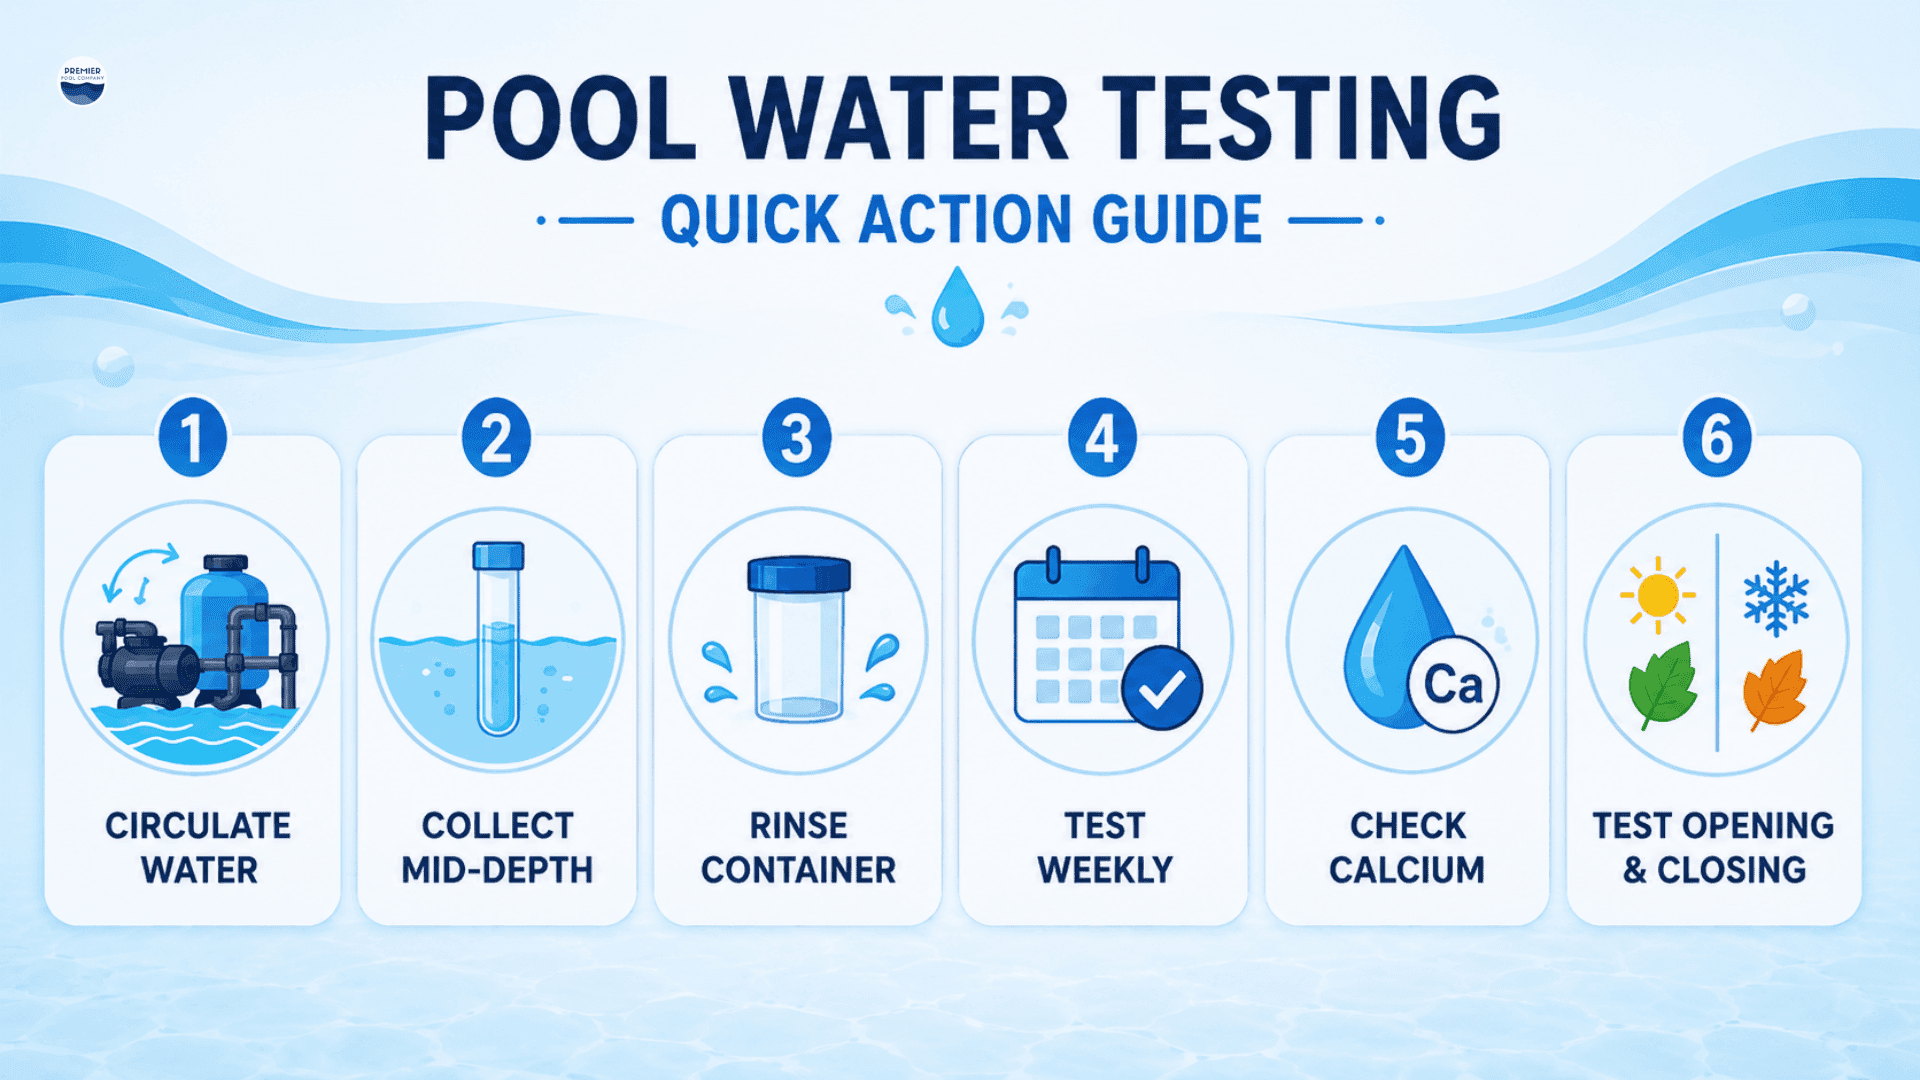
Circulate the water for at least 15–20 minutes before pulling a sample.
Sample from arm's-length depth, away from returns, skimmers, and any chlorine feeder.
Rinse your sample container with pool water first, every time.
Test strips are fine for a quick daily glance; a liquid reagent kit gives you the accuracy you need weekly.
Ohio's hard tap water means calcium hardness deserves more attention here than in many other regions.
Test immediately at pool opening and again before closing, Ohio's short swim season makes both readings more important than a mid-July check.
If a pool store tests your water, ask for the printed numbers, not just a bag of recommended products.
Need help planning a pool that fits your Ohio backyard and maintenance needs?
Explore our pool options in Central Ohio.
Why Bother Testing at All
It's tempting to treat testing as an extra chore besides actually maintaining a pool, but it's really the diagnostic step that makes every other part of maintenance work.
Chlorine, pH, alkalinity, and calcium hardness all depend on each other. For example, if there is a high pH level, you need more Chlorine, so you need to reduce the alkalinity first and then add Chlorine.
And if you do not maintain the right chemical balance, it may lead to algae formation, calcium flakes, scale deposition in water equipment and tile line, white water mold, etc.
In Ohio specifically, where municipal and well water already comes with a higher composition of chemicals (such as calcium and manganese), it risks scaling deposits real fast.
On the surface, the pool will look fine. But unbalanced chemicals will slowly do the damage, and by the time you notice, there might be higher costs of revival or repair.
Picking the Right Test Method
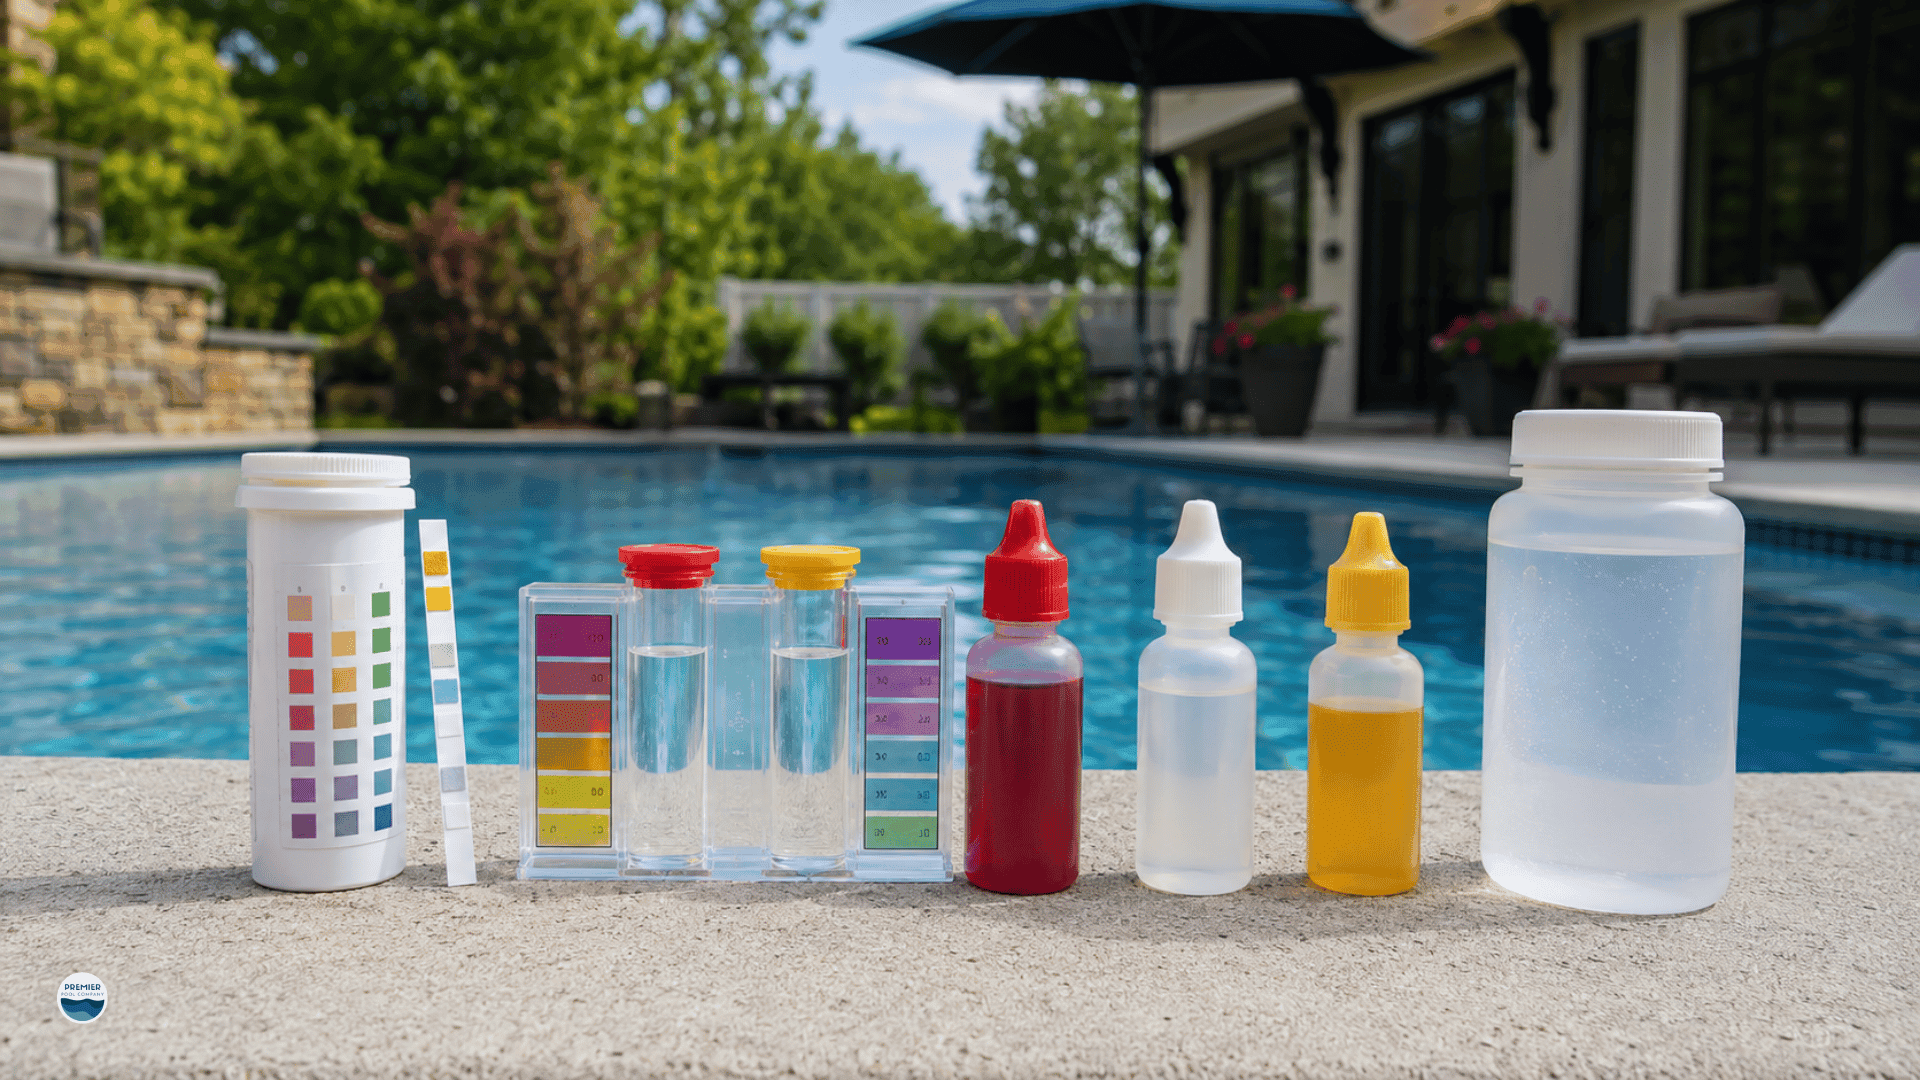
There isn't one correct way to test a pool. There are three common methods that help test all the chemical levels (Chlorine, pH, alkalinity, calcium), and which one fits depends on how often you're testing and how precise you need to be.
1. Test strips (the fastest option)
Each strip has several small colored pads on it, and each pad is treated with a reagent that reacts to one specific chemical.
You dip the strip once, and within about 15 seconds, all of those pads have changed color at the same time.
Read them against the chart on the bottle, and that’s it.
However, it’s a bit less precise as you have to match the color by eye. So it’s a good option for day-to-day quick checks, but not when you are doing a revival.
2. Liquid reagent kits
Liquid reagent kits, such as the Taylor K-2005 or K-2006, work differently. Instead of one dip covering everything, you use a sample vial with its own reagent bottle for testing each of the 4 required chemicals/
Testing chlorine means filling a vial, adding drops of a specific reagent, and counting how many drops it takes for the color to change. Testing pH means repeating that with a different vial and a different reagent.
Run through chlorine, pH, alkalinity, and calcium hardness this way, and you've done four separate mini-tests rather than one combined reading.
It takes longer, but each individual number is noticeably more accurate than a strip's color match.
3. Professional lab testing through a local pool store
This option helps test the necessary chemicals that the other two do, plus a few more, including iron and copper, phosphates, nitrates, and salt levels (if you're running a salt system). It's not a different kind of test, but what we call it is a more complete one.
Ohio well-water pools in particular benefit from an occasional lab check, since metals show up more often in well-fed pools than in municipally supplied ones and can stain plaster or vinyl if left unaddressed.
A lab test every six to eight weeks during swim season is reasonable for most owners; well-water households may want to run one specifically at opening, before the season's first shock treatment reacts with whatever metal content is mixed in the water.
Collecting a Sample the Right Way
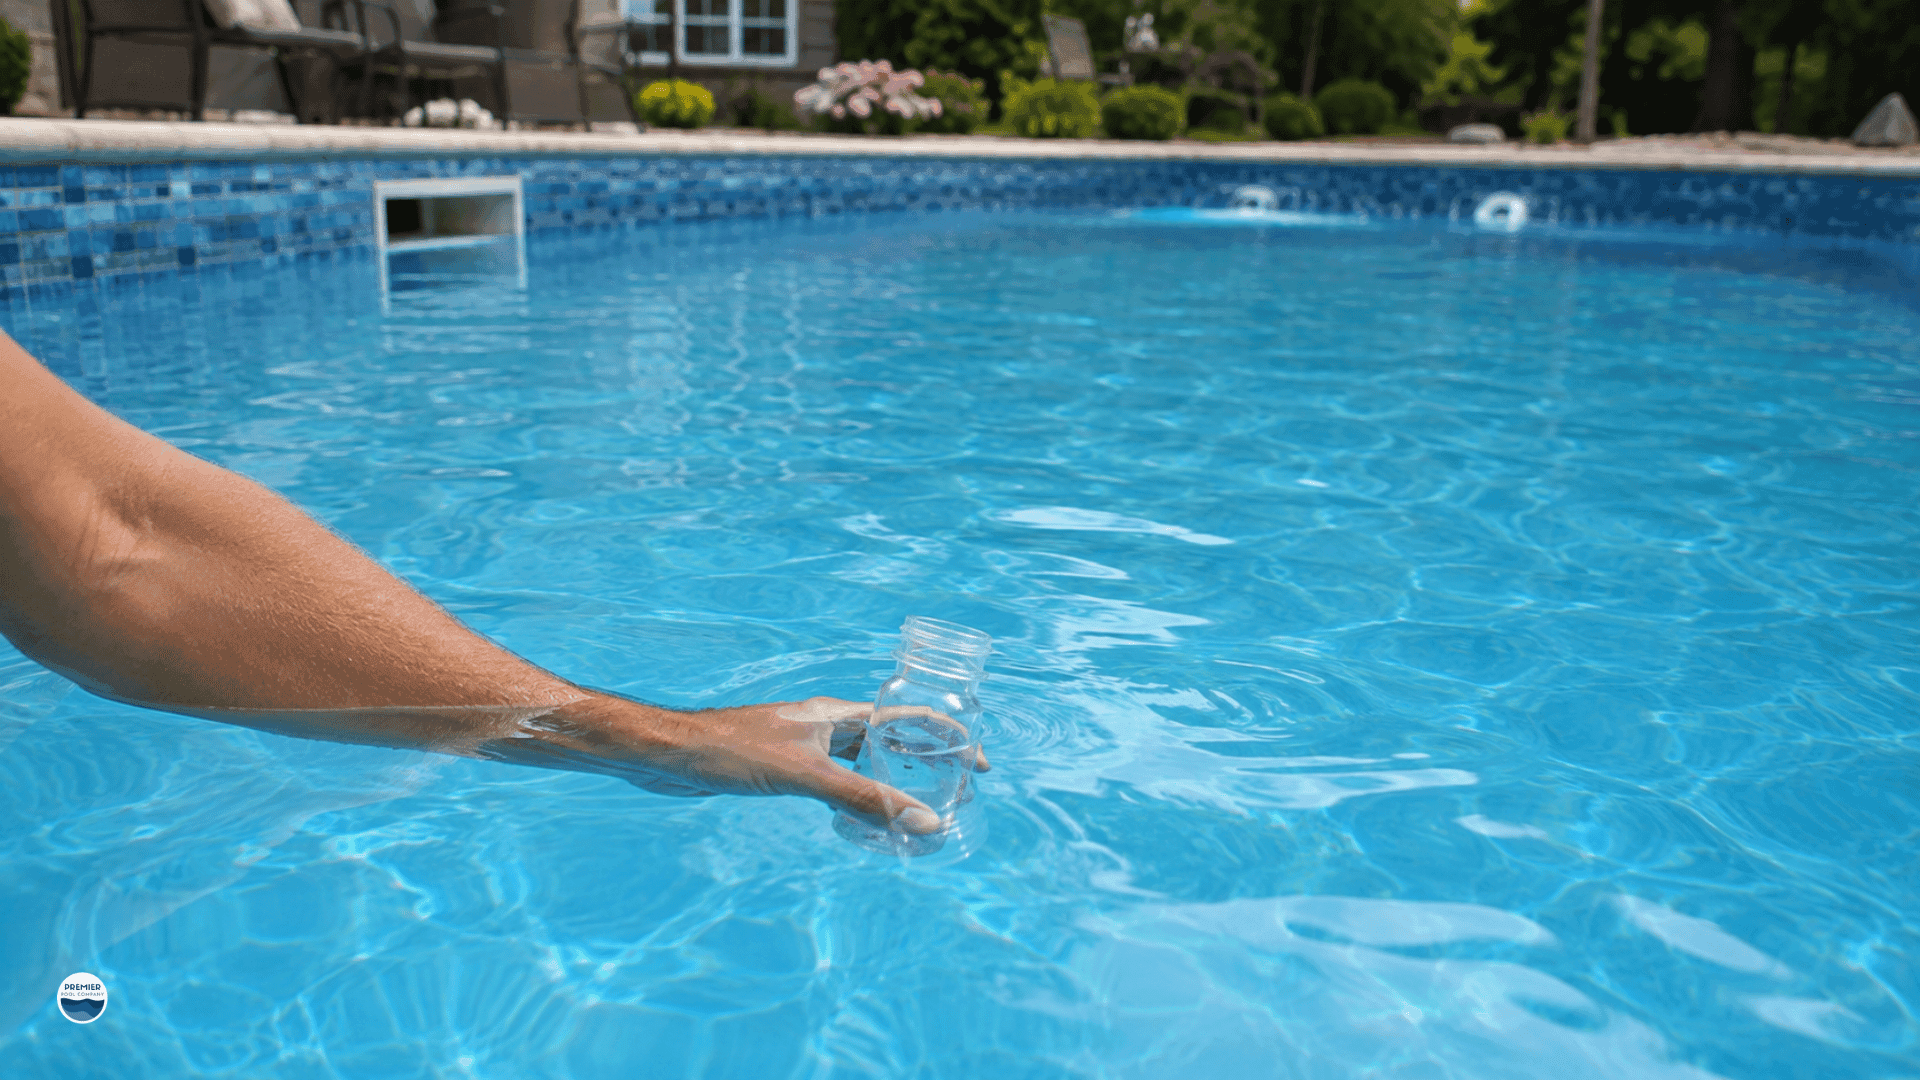
Understanding the test was quite easy. But you also have to collect the sample in a specific way. Here’s how.
Start by running the pump for roughly 15 to 20 minutes before you collect anything. Water that's been sitting still, especially near a skimmer or a corner with poor circulation, won't reflect the right concentration.
Ohio pools with heavy tree cover nearby tend to develop stagnant pockets near leaf litter faster than open, unshaded pools. So if you have trees around your pool deck, then this step is very important.Rinse the sample container with pool water before you fill it for real, even if it looks clean. Any leftover residue, dust, or old sample can throw off the reading.
To collect the water, reach in to about elbow depth, away from return jets, skimmers, and any floating or inline chlorinator, and scoop a sample from that mid-depth zone.
Surface water evaporates along with Chlorine faster than the water lower in the column, which can show lower readings for chlorine tests, particularly on a hot, sunny Ohio afternoon when evaporation is running high.
Once you've got the sample, cap it right away.
Heat and prolonged air exposure change the chemistry within minutes, so if you're taking it to a store, go straight there rather than running other errands first.
Reading Test Strips Without Messing Up The Reading
Now, many of us have the habit of finding faster ways to do the tests even if it doesn’t take all that long. But that can seriously tamper with the reading. So here are a few to-dos for you.
Don't handle multiple strips at once; moisture or residue from your fingers can affect the ones you haven't used yet.
Dip the strip to the depth specified on the bottle, hold it level, and don't swirl it around.
Wait exactly as long as the instructions say before reading it (most strips call for around 15 seconds) because reading too early or too late gives a different color, i.e., wrong interpretation.
Compare the strip to the chart immediately; colors continue to shift the longer the strip sits exposed to air.
One thing that trips up a lot of first-time testers: if chlorine levels are very high, strips can read as if there's little or no chlorine present at all, because the color pad essentially gets bleached out past its readable range. If your strip shows near-zero chlorine but the pool smells strongly of chlorine, or your eyes are stinging, then the reading is not correct. In this case, dilute the sample with a bit of distilled water, retest, and multiply the result accordingly.
Using a Liquid Kit for Real Accuracy
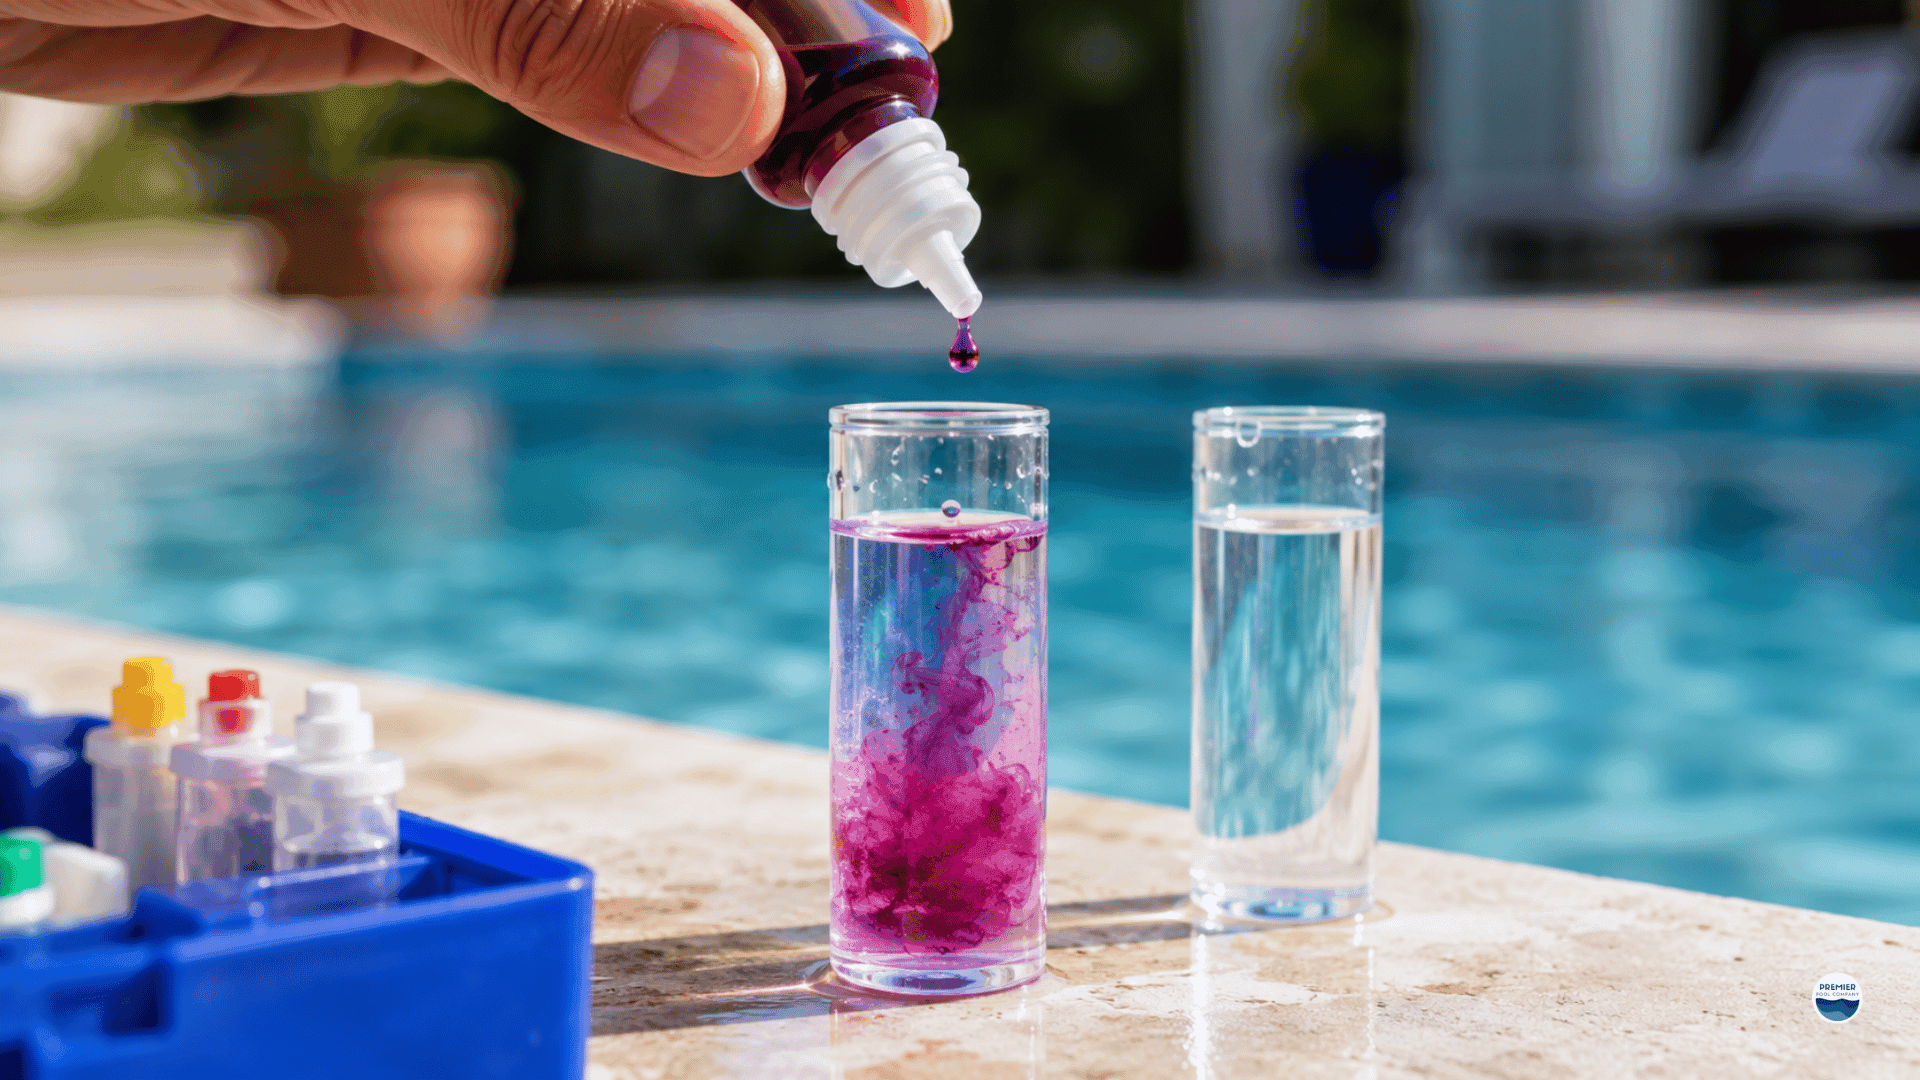
If you've moved up to a drop-based kit, precision comes down to a handful of habits.
Fill the test vial exactly to the marked line, checking at eye level and reading from the bottom of the water's curve rather than the top.
Hold the reagent bottle perfectly vertical when adding drops; tilting it changes drop size and throws off your count.
Add drops one at a time rather than squeezing quickly, and count carefully.
Never touch the sample water with your fingers, since skin oils and acids can skew a pH reading.
Cap the vial and swirl gently to mix; shaking introduces bubbles that distort the color you're trying to read.
Read your results against a plain, light-colored background in natural daylight if possible (northern light is ideal) and avoid reading under fluorescent bulbs, which cast a tint that can shift how a color appears.
Store the kit itself somewhere cool and dry, and replace the reagents annually regardless of how much is left in the bottle; reagents degrade with age and heat, and an Ohio garage that swings from freezing in January to eighty-plus in July is a rough storage environment for them.
The Numbers You Should Track Every Week
During swim season, these six readings are worth checking on a weekly basis at minimum:
Free chlorine: 1–2 ppm
pH: 7.4–7.6
Total alkalinity: 100–150 ppm
Calcium hardness: 200–400 ppm
Cyanuric acid (stabilizer): 30–50 ppm
Phosphates (optional but useful): under 100 ppb
Calcium hardness should get extra attention in Ohio because municipal water across much of the state runs moderately to significantly hard, and well water often runs harder still. (By “hard” it means more concentration of chemicals.)
Ohio pools frequently start the season already sitting near the top of, or above, the recommended calcium range before any chemicals are even added. You have to be serious about keeping track of this because pools that go past roughly 400 ppm of Calcium start showing scale on tile lines and inside heater components well before the water itself looks visibly cloudy.
Timing Your Tests Around Ohio's Swim Season
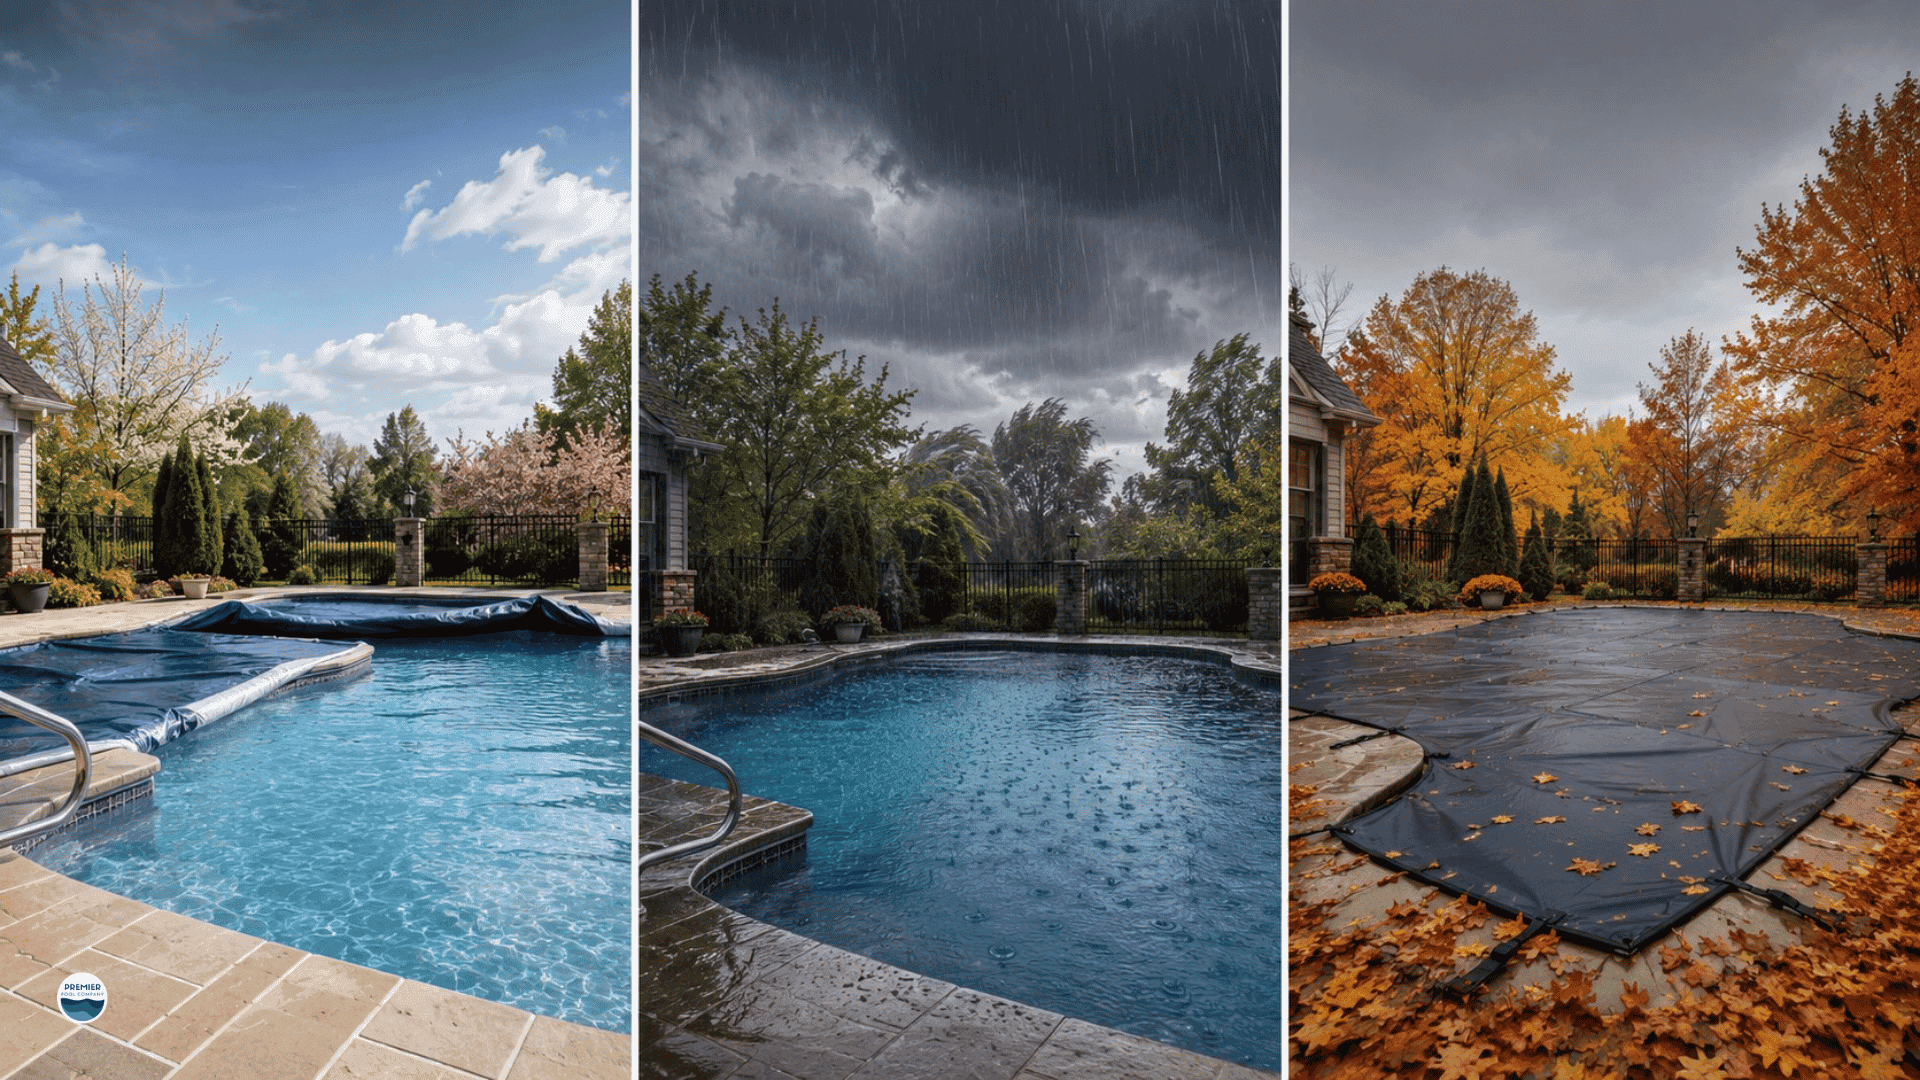
Ohio's swim season is short enough that a couple of specific testing moments carry more weight than they would in a warmer climate with a longer or year-round season.
- Testing At Opening
At pool opening, typically sometime in May depending on the year's weather, test before you do anything else, before shocking, before adjusting chemicals, before assuming last year's closing numbers still apply.
Water that sat covered over an Ohio winter has usually drifted in alkalinity and, if it's well-fed, in metal content, and testing first tells you exactly what you're correcting rather than guessing.
- Testing At Closing
At closing, typically September into October, test again before adding winterizing chemicals.
Getting the pH and alkalinity balanced right before closing is important because the water is going to sit largely untouched for months, and starting winter with badly balanced chemistry means dealing with etched plaster, stained liners, or a slower spring opening the following year.
A few extra minutes with a test kit in the fall saves a much longer cleanup process the following spring.
- Testing After Heavy Storms
Between those two bookend tests, you also need to test after a heavy storm. Ohio thunderstorms bring in organic debris and dilute chlorine fast, and a pool that tested fine on Monday can be demanding a shock treatment by Wednesday after a hard rain.
Getting Straight Answers From a Pool Store
If you take a sample in for professional testing, don't leave with just a list of products and a total at the register. Ask for a results printout with actual parameter values, not just recommendations. It will let you understand what's actually happening in your water and cross-check it against your own readings going forward.
Specifically ask for the numeric values for each parameter tested, a printed or emailed copy of the results, and any notes on which readings came back outside the normal range.
Pool professionals here in Ohio, including teams like The Premier Pool Co, will typically provide this without hesitation, it's a reasonable ask, and a store that resists giving you actual numbers is one worth reconsidering for future testing.
FAQs
1. How often should I test my pool during an Ohio swim season?
Weekly at minimum during the season, with additional tests right after heavy storms, after a big swim party, or any time the water looks or smells off. The pool-opening and pool-closing tests each season are also worth treating as mandatory rather than optional.
2. Should I test differently depending on whether I have well water or municipal water?
Well water in Ohio is more likely to carry metals like iron or copper, so it's worth running a professional lab test at opening specifically to check for metal content before your first shock treatment, in addition to your regular weekly readings.
3. Test strips or a liquid kit, which should I actually buy?
Strips are fine for a quick daily or every-other-day glance, especially during heavy pool-use stretches. A liquid kit is worth the extra few minutes for your real weekly readings, since it gives you more reliable numbers to actually act on.
4. My test strip shows zero chlorine right after I shocked the pool. What's going on?
Very high chlorine levels can bleach out a test strip's reading, making it falsely appear low or absent. Dilute the sample with distilled water, retest, and scale the result up accordingly rather than assuming the chlorine simply disappeared.
5. Do I need to test differently going into an Ohio winter closing?
Test and balance pH and alkalinity specifically before closing, since the water will sit largely undisturbed for months. Starting winter with chemistry out of range is a common reason for a rough spring opening, including stains, scale, or etched surfaces that could have been avoided.
6. How long do test kit reagents actually last, and does Ohio's climate affect that?
Most reagents are rated for about a year, but heat speeds up degradation, and a garage or shed that swings between an Ohio winter and summer isn't a gentle storage environment. Store kits somewhere cool and dry, and replace reagents annually regardless of how much liquid remains.
Final Thoughts
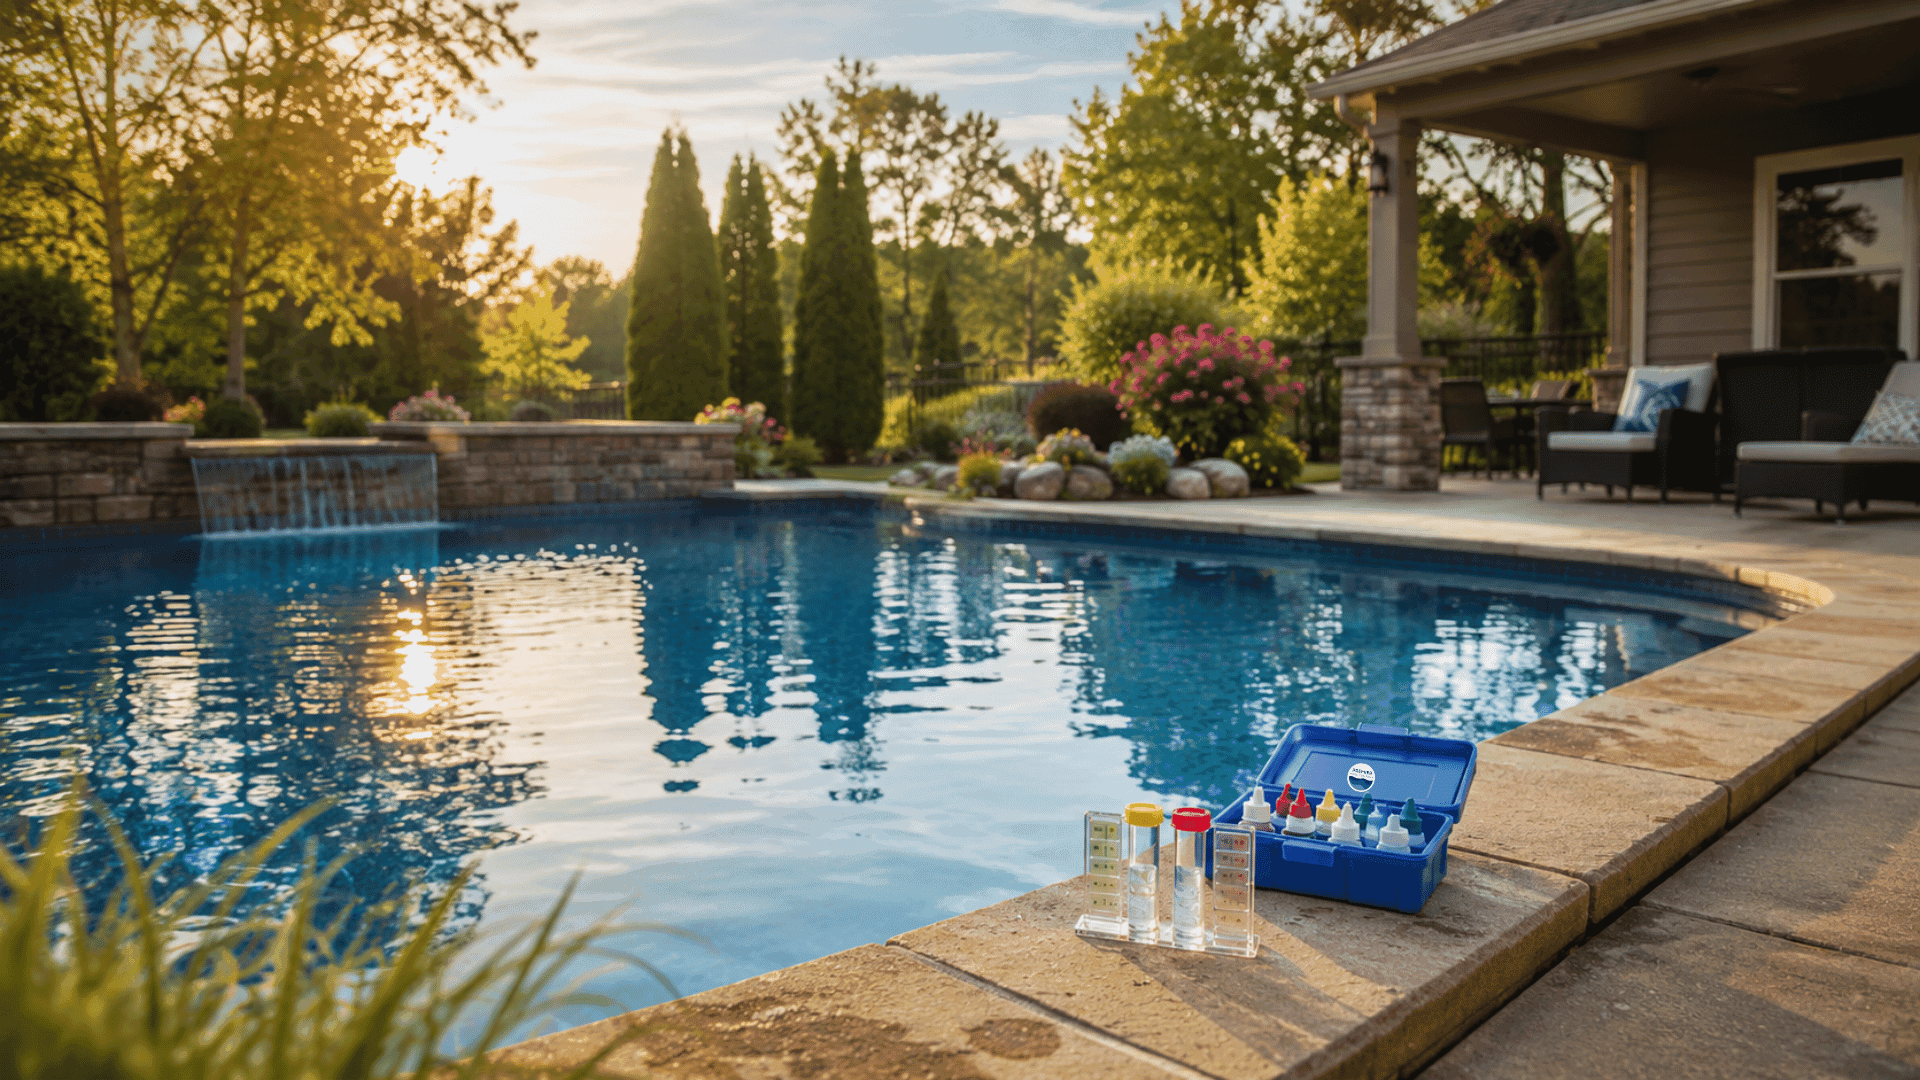
Pool water testing isn't an option chore. It is very important to ensure how you maintain your pool and keep it top-notch all the time. A consistent weekly habit, done correctly, will help you catch any problems beforehand, and you can avoid higher costs simply by maintaining a proper chemical level in your pool.
For Ohio owners specifically, paying closer attention to calcium hardness and treating the opening and closing tests are non-negotiable. We simply can’t avoid the freeze-thaw cycles and warmer than usual summers here.
Now, regardless of testing, if you notice you are seeing defaults in the pool and aren’t sure how to fix them, you may always consult Premier Pool Co. Our experts will be happy to take a look and offer quality service for renovations or even new pool setups. We’ve been doing this for years in Ohio, and have a proven track record. Feel free to
Contact Us Here.
More Blogs

Aaron Lehner
Pool Water Testing in Ohio: A Beginner's Guide to Getting It Right
Pool water testing in Ohio was simple. Learn how to test chlorine, pH, alkalinity, and calcium hardness to keep your pool clear, balanced, and swim-ready.

Aaron Lehner
Paver Patio vs Concrete Pool Decks (Based on Ohio Climate)
Compare paver patio vs concrete pool decks in Ohio. Learn how pavers vs concrete patio options handle freeze-thaw cycles, drainage, heat, and maintenance.

Aaron Lehner
7 Best Pool Features To Add To Your Backyard In 2026
Discover the best pool features, custom pool features and swimming pool features for 2026, plus practical pool feature ideas that keep your Ohio backyard stunning and durable.